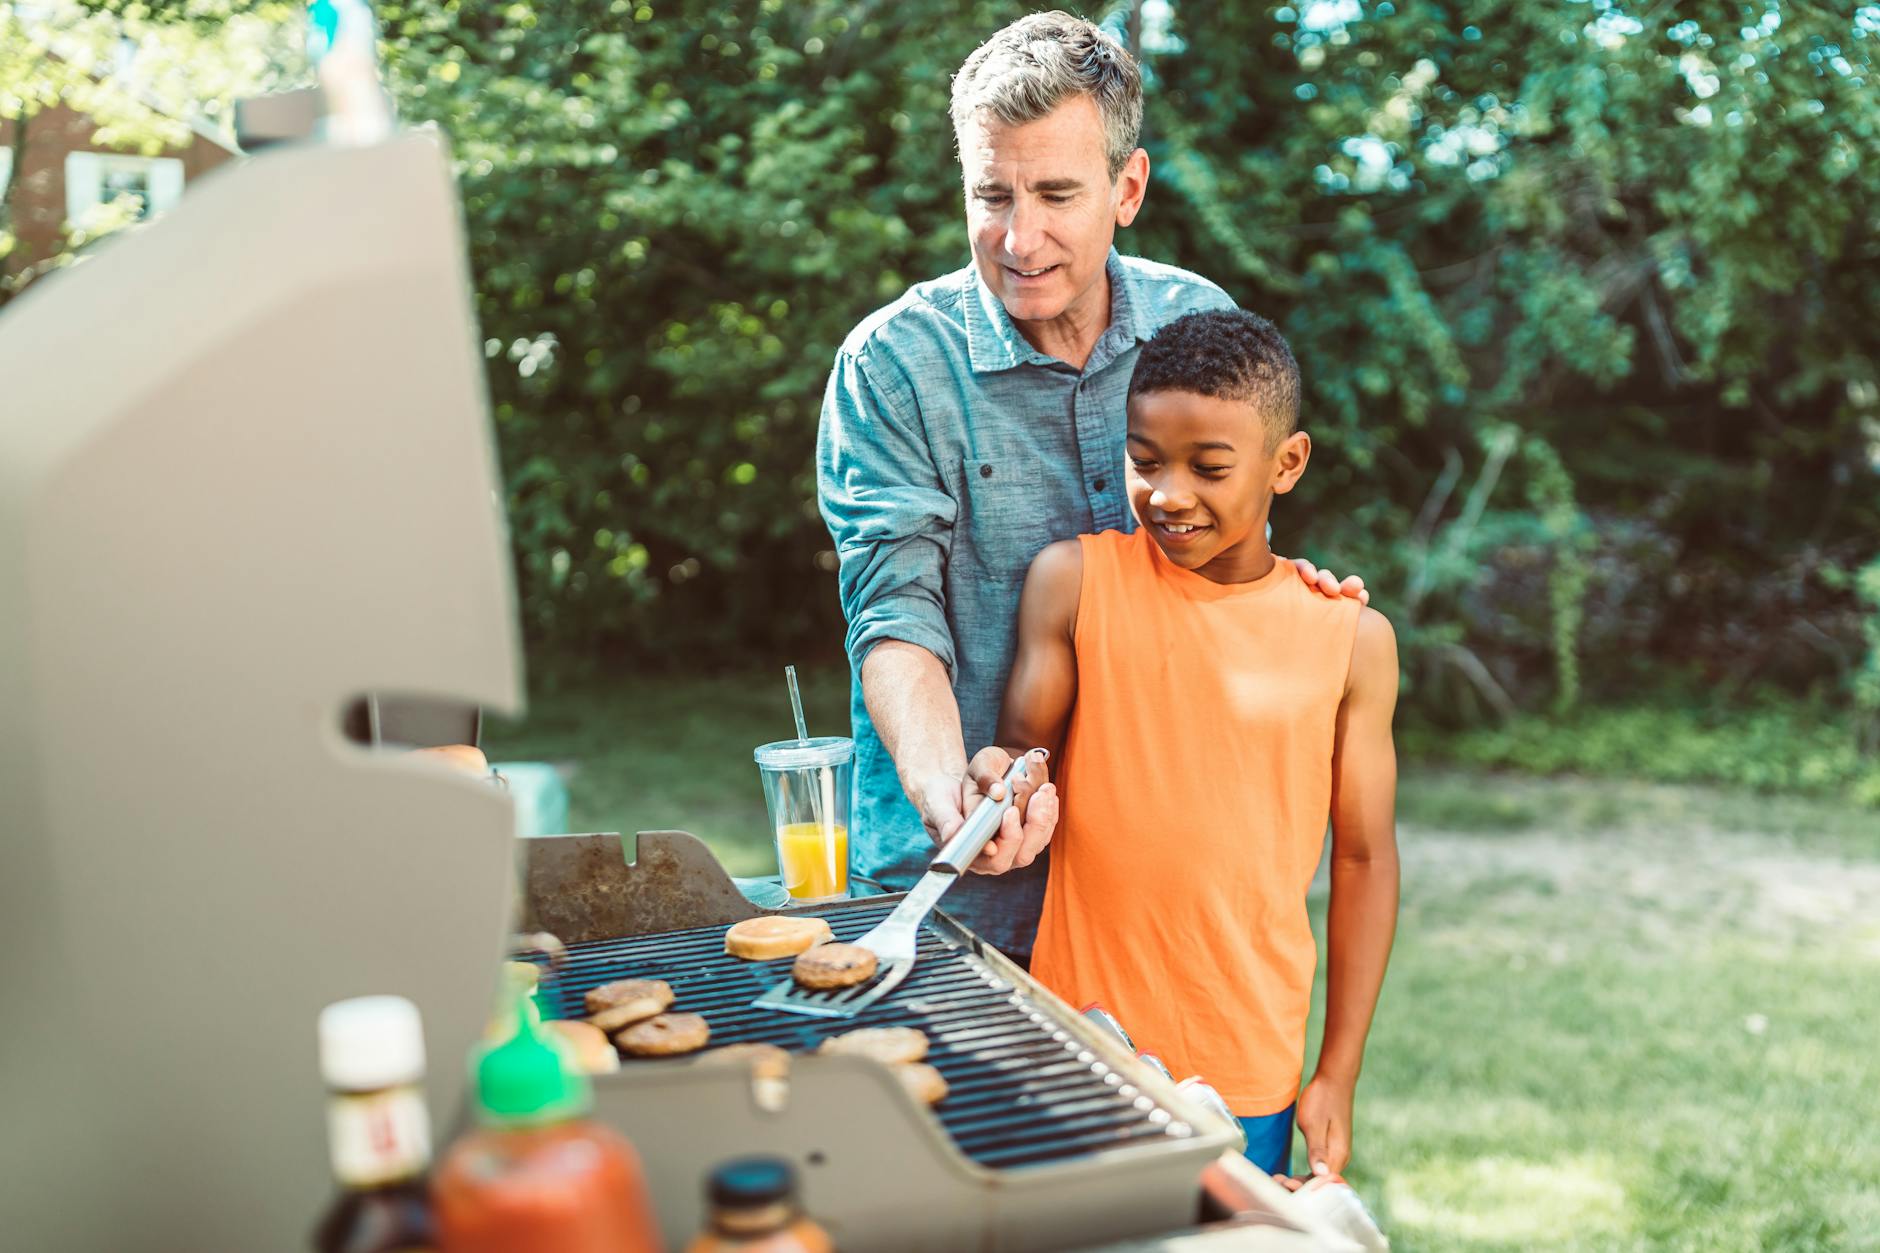
There’s something primal about standing in front of a hot grill with tongs in hand, smoke rising, and the smell of searing meat filling the air. It’s a moment that connects us to generations of fathers before us—and creates memories our kids will carry forward.
I’m Don Jackson, founder of DaddyNewbie.com, TheRavenMediaGroup.com, and NMFootballAcademy.com. Through my work in parenting, media, and youth sports, I’ve learned that some of life’s best investments don’t show up on a balance sheet. They show up on a Sunday afternoon when your kids are gathered around the grill, learning to flip burgers and telling stories.
But here’s the truth: grilling can be intimidating if you’re just starting out. The fear of serving undercooked chicken or turning expensive steaks into hockey pucks is real. I’ve been there—standing over a grill, wondering if I should flip now or wait, whether the meat is done or needs another minute, and why everything seems to be burning on the outside while staying raw on the inside.
This guide is for every dad who wants to master the grill, not just survive it. Whether you’re a complete beginner or looking to level up your skills, we’re going to cover everything you need to know to become the grill master your family brags about.
Why Grilling Matters Beyond the Food
Before we dive into techniques and temperatures, let’s talk about why this matters. Grilling isn’t just about cooking food—it’s about creating experiences.
Building Traditions
Some of my favorite childhood memories involve my dad at the grill. The ritual of it—the preparation, the anticipation, the gathering around the picnic table—created a sense of occasion. Now I’m creating those same memories for my kids.
Teaching Life Skills
When you involve your children in grilling, you’re teaching them about fire safety, food preparation, patience, and responsibility. These are practical life skills wrapped in quality time.
Bringing People Together
There’s something about outdoor cooking that draws people in. Neighbors wander over. Kids play in the yard. Conversations happen naturally. The grill becomes a gathering point.
Unplugging and Connecting
Grilling forces you to be present. You can’t walk away from a hot grill to check your phone. You’re there, engaged, and available for conversation with whoever’s keeping you company.
Building Confidence
Mastering a skill—any skill—builds confidence. When you can consistently produce delicious food that your family loves, it feels good. It’s a tangible accomplishment in a world where so much of our work feels abstract.
Choosing Your Grill: Gas vs. Charcoal vs. Pellet
Your first decision is what type of grill to buy. Each has advantages and trade-offs.
Gas Grills: The Convenient Choice
Pros:
- Quick startup (ready in 10-15 minutes)
- Easy temperature control with adjustable burners
- Consistent, predictable heat
- Less cleanup
- Great for weeknight cooking
Cons:
- Less smoky flavor than charcoal
- Higher upfront cost
- Requires propane tank refills or natural gas line
- Less “authentic” grilling experience for purists
Best for: Busy families who grill frequently and value convenience. If you’re grilling on Tuesday night after work, gas is your friend.
What to look for: At least two burners (three is better) for heat zone control, solid construction with cast iron or stainless steel grates, and a built-in thermometer.
Budget recommendation: Weber Spirit II E-210 ($400-500) is the gold standard for entry-level gas grills.
Charcoal Grills: The Traditional Choice
Pros:
- Superior smoky flavor
- Gets much hotter than gas (better for searing)
- Lower upfront cost
- The “authentic” grilling experience
- Can add wood chips for extra flavor
Cons:
- Longer startup time (20-30 minutes)
- More difficult temperature control
- More cleanup (ash disposal)
- Less convenient for quick weeknight meals
Best for: Weekend warriors who prioritize flavor and enjoy the ritual of charcoal grilling. If you’re grilling on Saturday afternoon with time to spare, charcoal delivers.
What to look for: Good airflow control (vents on top and bottom), sturdy construction, and adequate cooking surface for your family size.
Budget recommendation: Weber Original Kettle (22-inch, $150-200) is a classic that will last decades.
Pellet Grills: The New Kid on the Block
Pros:
- Excellent smoke flavor
- Precise temperature control (digital)
- Can smoke, grill, bake, and roast
- “Set it and forget it” convenience
- Uses natural wood pellets
Cons:
- Expensive ($500-2000+)
- Requires electricity
- More complex (more things that can break)
- Pellets must be kept dry
Best for: Serious outdoor cooking enthusiasts who want versatility and are willing to invest. These are particularly great for low-and-slow smoking.
Budget recommendation: Traeger Pro 575 ($800) or Z Grills 700D ($500) for entry-level pellet grilling.
My Recommendation
If you’re just starting out and want one grill that does everything reasonably well, get a gas grill. The convenience means you’ll actually use it regularly, which is more important than marginal flavor improvements.
Once you’ve mastered gas grilling and want to level up, add a charcoal kettle grill for weekends. The two-grill approach gives you the best of both worlds.
Essential Grilling Tools and Accessories
Don’t cheap out on tools. Quality equipment makes grilling safer, easier, and more enjoyable.
The Non-Negotiables:
- Long-handled tongs (16-inch minimum) – Your primary tool for flipping and moving food. Get two pairs—one for raw meat, one for cooked.
- Wide spatula – Essential for burgers and delicate fish. Look for one with a thin, flexible edge.
- Instant-read meat thermometer – This is the difference between perfectly cooked meat and food poisoning. Digital is best. I recommend the ThermoWorks ThermoPop ($35).
- Wire grill brush – For cleaning grates before and after cooking. Replace annually.
- Chimney starter (for charcoal) – Forget lighter fluid. A chimney starter gets coals ready in 15 minutes with just newspaper.
- Heat-resistant gloves – Protect your hands and forearms from heat and flames.
Nice to Have:
- Basting brush for sauces and marinades
- Grill basket for vegetables and small items
- Cedar planks for salmon
- Meat claws for shredding pulled pork
- Grill light for evening cooking
- Fire extinguisher (safety first!)
Understanding Heat: The Foundation of Great Grilling
This is where most beginners struggle. Understanding heat management is more important than any marinade or rub.
Direct vs. Indirect Heat
Direct Heat is when food sits directly over the flame or coals. This creates high heat (450-550°F) that’s perfect for quick-cooking items.
Use direct heat for:
- Burgers and hot dogs
- Steaks and chops (under 1.5 inches thick)
- Chicken breasts (boneless, skinless)
- Vegetables
- Shrimp and thin fish fillets
- Anything that cooks in under 20 minutes
Indirect Heat is when food sits away from the flame, cooking by circulating hot air (like an oven). This creates moderate heat (300-350°F) for slower cooking.
Use indirect heat for:
- Whole chickens
- Thick steaks (over 1.5 inches)
- Ribs
- Pork shoulder
- Anything that needs more than 20 minutes
The Two-Zone Setup
The secret to grilling versatility is creating two zones on your grill—one hot, one cooler.
For gas grills: Turn on burners on one side only. The lit side is your hot zone, the unlit side is your cool zone.
For charcoal grills: Push all the hot coals to one side. The coal side is hot, the empty side is cool.
This setup lets you sear meat over high heat, then move it to the cool zone to finish cooking without burning. It’s a game-changer.
Temperature Control
For gas grills: Use the burner knobs to adjust heat. Preheat for 10-15 minutes with the lid closed.
For charcoal grills: Control temperature with the vents. More air = hotter fire. Less air = cooler fire. Top vent controls temperature, bottom vent controls burn rate.
Target temperatures:
- High heat: 450-550°F (searing steaks, burgers)
- Medium-high: 375-450°F (chicken, pork chops)
- Medium: 325-375°F (indirect cooking, whole chickens)
- Low: 225-275°F (smoking, ribs, brisket)
Preparing Your Grill: The Pre-Cook Ritual
Never skip this step. Proper preparation prevents sticking and ensures even cooking.
Every time you grill:
- Clean the grates – Heat the grill for 10-15 minutes, then scrub with a wire brush while hot. This burns off residue and makes cleaning easier.
- Oil the grates – Using tongs and a paper towel soaked in high-temp oil (canola, vegetable, or grapeseed), rub the hot grates until they’re shiny and black. This creates a non-stick surface.
- Set up your zones – Arrange your heat zones (two-zone setup) before putting food on.
- Preheat properly – Gas grills need 10-15 minutes with the lid closed. Charcoal needs 20-30 minutes until coals are covered with white ash.
Pro tip: Make sure your grill is very hot before adding food. A hot grill creates better searing and prevents sticking.
Selecting Quality Ingredients
Great grilling starts with great ingredients. You can’t grill your way out of bad meat.
Choosing Meat
Steaks:
- Look for marbling (white fat throughout the meat)
- USDA Choice or Prime grades
- At least 1-inch thick (1.5 inches is ideal)
- Best cuts for grilling: ribeye, strip, T-bone, porterhouse, sirloin
Chicken:
- Bone-in, skin-on pieces have more flavor and stay juicier
- Thighs are more forgiving than breasts (higher fat content)
- Buy uniform sizes for even cooking
Pork:
- Pork chops should be at least 1-inch thick
- For ribs, choose baby back or St. Louis style
- Pork shoulder for pulled pork (8-10 hours of smoking)
Ground meat:
- 80/20 beef (80% lean, 20% fat) for burgers—leaner = drier
- Don’t buy pre-formed patties; make your own
- Handle gently; overworking makes tough burgers
Fish:
- Firm fish like salmon, tuna, and swordfish grill best
- Skin-on fillets are easier to flip
- Buy from a reputable fishmonger; freshness matters
Preparing Meat for the Grill
Thaw completely – All meat should be fully thawed before grilling. Frozen or partially frozen meat cooks unevenly.
Bring to room temperature – Remove meat from the fridge 20-30 minutes before grilling. This ensures even cooking throughout.
Pat dry – Use paper towels to remove surface moisture. Dry meat sears better.
Season generously – Salt and pepper are your foundation. Season more heavily than you think—some will fall off during cooking.
Marinades, Rubs, and Seasonings
This is where you add personality to your grilling.
The Science of Marinades
Marinades serve three purposes: flavor, tenderizing, and moisture. But they only penetrate about 1/8 inch into meat, so don’t expect miracles.
Basic marinade formula:
- Acid (vinegar, citrus, wine): 1/4 cup
- Oil (olive, vegetable): 1/2 cup
- Seasonings (garlic, herbs, spices): to taste
- Salt: 1-2 teaspoons
Marinating times:
- Fish: 15-30 minutes (acid can “cook” delicate fish)
- Chicken: 2-4 hours
- Pork: 4-8 hours
- Beef: 4-24 hours
Pro tip: Don’t marinate in metal containers (acid reacts with metal). Use glass, ceramic, or zip-top bags.
Dry Rubs: My Preferred Method
I prefer dry rubs to marinades. They’re simpler, create better bark (crust), and don’t make a mess.
Basic all-purpose rub:
- 2 tablespoons brown sugar
- 1 tablespoon paprika
- 1 tablespoon black pepper
- 1 tablespoon salt
- 1 teaspoon garlic powder
- 1 teaspoon onion powder
- 1/2 teaspoon cayenne (optional)
Apply rubs 30 minutes to 24 hours before grilling. The longer it sits, the deeper the flavor penetrates.
The Salt and Pepper Purist Approach
Honestly? For great meat, you don’t need much. A quality steak with just coarse salt and cracked black pepper, properly grilled, is hard to beat. Don’t overthink it.
Grilling Techniques: Mastering the Basics
How to Grill the Perfect Steak
This is the skill that will make you a legend.
Step 1: Start with a 1.5-inch thick steak at room temperature, patted dry and generously seasoned.
Step 2: Preheat grill to high heat (500°F+). Set up two-zone cooking.
Step 3: Place steak over direct heat. Don’t touch it for 3-4 minutes. Resist the urge to peek.
Step 4: Flip once. Cook another 3-4 minutes for medium-rare.
Step 5: Check internal temperature:
- Rare: 120-125°F
- Medium-rare: 130-135°F
- Medium: 135-145°F
- Medium-well: 145-155°F
- Well-done: 155°F+ (but why?)
Step 6: Move to cool zone if needed to reach target temperature without burning the exterior.
Step 7: Rest for 5-10 minutes before cutting. This allows juices to redistribute.
Pro tip: Flip your steak frequently (every 1-2 minutes) for faster, more even cooking and better crust. This contradicts traditional advice, but it works.
How to Grill Chicken Without Drying It Out
Chicken is tricky because it needs to reach 165°F internally for safety, but it dries out easily.
For boneless, skinless breasts:
- Pound to even thickness (or butterfly thick breasts)
- Brine for 30 minutes (1/4 cup salt per quart of water)
- Grill over medium-high heat (400°F)
- 6-8 minutes per side
- Remove at 160°F (carryover cooking will bring it to 165°F)
For bone-in, skin-on pieces:
- Start skin-side down over indirect heat
- Cook for 30-40 minutes until internal temp reaches 165°F
- Move to direct heat for final 5 minutes to crisp the skin
- Thighs are done at 175°F (more forgiving than breasts)
Pro tip: Chicken thighs are more forgiving and flavorful than breasts. Start there if you’re nervous about drying out chicken.
How to Grill Burgers
Burgers seem simple, but there’s technique involved.
Step 1: Use 80/20 ground beef. Form patties gently—don’t overwork the meat.
Step 2: Make patties slightly larger than your buns (they shrink) and create a small dimple in the center (prevents bulging).
Step 3: Season generously with salt and pepper right before grilling.
Step 4: Grill over direct high heat. 4 minutes per side for medium.
Step 5: Flip only once. Don’t press down with the spatula (you’re squeezing out juice).
Step 6: Add cheese in the last minute. Toast buns on the grill.
Internal temperatures:
- Medium-rare: 130-135°F
- Medium: 135-145°F
- Medium-well: 145-155°F
Pro tip: For extra-juicy burgers, mix in 2 tablespoons of cold butter per pound of beef before forming patties.
How to Grill Vegetables
Vegetables are often an afterthought, but grilled veggies are delicious and impressive.
Preparation:
- Cut into large, uniform pieces
- Toss with olive oil, salt, and pepper
- Use a grill basket for small items
Best vegetables for grilling:
- Corn (in husk or shucked)
- Bell peppers
- Zucchini and summer squash
- Asparagus
- Portobello mushrooms
- Onions
- Eggplant
Technique:
- Grill over medium-high direct heat
- Turn occasionally until charred and tender
- Most vegetables take 8-12 minutes
Pro tip: Grill vegetables while meat is resting. They’re forgiving and can sit for a few minutes without suffering.
Safety First: Avoiding Common Grilling Hazards
Grilling involves fire, heat, and raw meat. Safety isn’t optional.
Fire Safety:
- Keep a fire extinguisher nearby
- Keep a spray bottle of water for flare-ups
- Never grill in enclosed spaces (garages, under overhangs)
- Keep grill at least 10 feet from structures
- Never leave a hot grill unattended
- Keep kids and pets at a safe distance
Food Safety:
- Use separate plates for raw and cooked meat
- Wash hands after handling raw meat
- Don’t reuse marinades that touched raw meat (or boil them first)
- Use a meat thermometer—don’t guess
- Refrigerate leftovers within 2 hours (1 hour if over 90°F outside)
Minimum safe internal temperatures:
- Beef, pork, lamb (steaks/chops): 145°F + 3 min rest
- Ground beef, pork, lamb: 160°F
- Chicken and turkey: 165°F
- Fish: 145°F
Grill Maintenance:
- Clean grates after every use
- Empty grease traps regularly
- Check gas connections for leaks (soapy water test)
- Cover grill when not in use
- Deep clean at least twice per season
Making Grilling a Family Activity
This is where the magic happens—transforming cooking into connection.
Age-Appropriate Involvement
Ages 3-5:
- Help carry unbreakable items to the table
- Arrange buns on a plate
- “Supervise” from a safe distance
- Learn about fire safety
Ages 6-9:
- Prepare vegetables (with supervision)
- Season meat (after you demonstrate)
- Set the table
- Learn about food safety
- Watch and ask questions
Ages 10-13:
- Prep ingredients independently
- Learn to light the grill (with supervision)
- Practice flipping with long tongs
- Monitor temperatures
- Start making simple items (hot dogs, vegetables)
Ages 14+:
- Take ownership of entire meals
- Experiment with recipes and techniques
- Grill independently (with you nearby)
- Teach younger siblings
Creating Grilling Traditions
Weekly Grill Night: Pick a consistent day (Sunday afternoons work great) and make it a family ritual.
Signature Dishes: Let each family member develop their specialty. My daughter makes the best grilled pineapple, and she’s proud of it.
Grilling Challenges: Have friendly competitions. Who can make the best burger? The most creative kebab?
Document the Journey: Take photos of your grilling adventures. Create a family cookbook with favorite recipes and stories.
Invite Others: Grilling is naturally social. Invite neighbors, friends, or extended family. Let your kids see you as the host who brings people together.
Teaching Moments Around the Grill
Grilling offers countless opportunities to teach life lessons:
Patience: Good food takes time. You can’t rush a brisket.
Preparation: Mise en place (everything in its place) teaches organization.
Attention to detail: Temperature matters. Timing matters. Small things make big differences.
Problem-solving: When things go wrong (and they will), you adapt and find solutions.
Responsibility: Fire and food safety are serious. Trust is earned through responsible behavior.
Pride in craftsmanship: Creating something with your hands that others enjoy builds confidence and self-worth.
Common Grilling Mistakes and How to Avoid Them
Learn from my failures so you don’t have to repeat them.
Mistake #1: Not preheating properly
Solution: Give your grill 10-15 minutes to preheat. A hot grill prevents sticking and creates better searing.
Mistake #2: Flipping too early
Solution: Let meat develop a crust before flipping. If it’s sticking, it’s not ready. (Though frequent flipping after the initial sear is fine.)
Mistake #3: Cooking over flames
Solution: Let charcoal burn down to glowing coals before cooking. Flames = uneven heat and burnt food.
Mistake #4: Pressing down on burgers
Solution: Stop it. You’re squeezing out all the juice. Just let them cook.
Mistake #5: Not using a thermometer
Solution: Guessing leads to overcooked or undercooked food. Use a thermometer. Every time.
Mistake #6: Overcrowding the grill
Solution: Leave space between items for air circulation and even heat distribution.
Mistake #7: Applying sauce too early
Solution: Most BBQ sauces contain sugar, which burns. Apply in the last 5-10 minutes of cooking.
Mistake #8: Not letting meat rest
Solution: Resting allows juices to redistribute. Wait 5-10 minutes before cutting.
Mistake #9: Using lighter fluid on charcoal
Solution: It makes food taste like chemicals. Use a chimney starter instead.
Mistake #10: Giving up after one bad experience
Solution: Everyone burns something eventually. Learn from it and try again. Mastery takes practice.
Beyond the Basics: Level Up Your Grilling
Once you’ve mastered the fundamentals, here are ways to expand your skills:
Smoking: Low-and-slow cooking (225-275°F for hours) transforms tough cuts into tender, flavorful masterpieces. Start with pork shoulder or ribs.
Reverse Searing: Cook thick steaks over indirect heat until they reach 10-15°F below target temperature, then sear over high heat. This creates edge-to-edge perfect doneness.
Plank Grilling: Cedar planks add subtle smoke flavor to salmon and other fish. Soak planks for an hour, then grill fish on top.
Rotisserie: If your grill has a rotisserie attachment, whole chickens and roasts come out incredibly juicy with crispy skin.
Pizza: With a pizza stone, your grill becomes a wood-fired pizza oven. The high heat creates restaurant-quality crust.
Desserts: Grilled fruit (peaches, pineapple, watermelon) is surprisingly delicious. The caramelization adds depth.
The Financial Wisdom of Grilling
Through my work with AMoneyGeek.com, I’ve learned to think about value beyond just dollars. Grilling offers exceptional return on investment:
Cost Savings: Grilling at home is significantly cheaper than restaurants. A $40 steak dinner at a restaurant costs $12 to make at home.
Equipment Longevity: A quality grill lasts 10-20 years. That’s thousands of meals from a $500 investment.
Skill Building: Learning to grill well means you can entertain affordably. Hosting a backyard BBQ for 10 people costs less than taking your family of four to a restaurant.
Health Benefits: Grilling is one of the healthiest cooking methods. Fat drips away, and you’re not adding butter or oil like you would when pan-frying.
Reduced Food Waste: Grilling makes even budget cuts of meat delicious. You don’t need expensive ingredients to create impressive meals.
Final Thoughts: It’s About More Than the Meat
Here’s what I’ve learned through my work with DaddyNewbie.com and my own journey as a father: the best moments in parenting often happen around ordinary activities elevated by intention.
Grilling is one of those activities.
Yes, you’re cooking food. But you’re also creating a space where conversations happen naturally. Where your kids learn by watching and doing. Where you’re modeling patience, skill development, and the satisfaction of creating something with your hands.
My kids won’t remember every meal I’ve grilled. But they’ll remember standing next to me, learning to flip a burger. They’ll remember the smell of charcoal on summer evenings. They’ll remember that Dad made time to teach them something real and useful.
And someday, when they’re standing in front of their own grills with their own kids, they’ll remember where they learned it.
That’s the real reason to master grilling. Not to impress your neighbors (though you will). Not to save money (though you will). But to create moments of connection that become part of your family’s story.
So fire up that grill. Make some mistakes. Burn a few steaks. Laugh about it. Try again. And invite your kids to join you.
The food is just the excuse. The memories are the point.
Now get out there and make some smoke.
About the Author: Don Jackson is the founder of DaddyNewbie.com, TheRavenMediaGroup.com, and NMFootballAcademy.com. He contributes to AMoneyGeek.com on financial literacy and planning, and focuses on helping fathers create meaningful connections with their children through intentional activities and shared experiences. His work emphasizes that the best investments in family aren’t always financial—sometimes they’re as simple as an afternoon spent together around the grill.


Leave a Reply